Alert & ActionSheet in SwiftUI is a pop-up that shows in the center and bottom of the device which contains some title, message, and buttons. Buttons trigger some actions based on your needs.
Alert in SwiftUI is same like UIAlertController in UIKit.
In this tutorial, we will see how we can show Alert & ActionSheet in SwiftUI.
If you want to watch the video tutorial of this article instead, here you go:
Prerequisite:
You need macOS Catalina and Xcode 11 or above in order to have SwiftUI work in the simulator.
1. Create a New SwiftUI Project
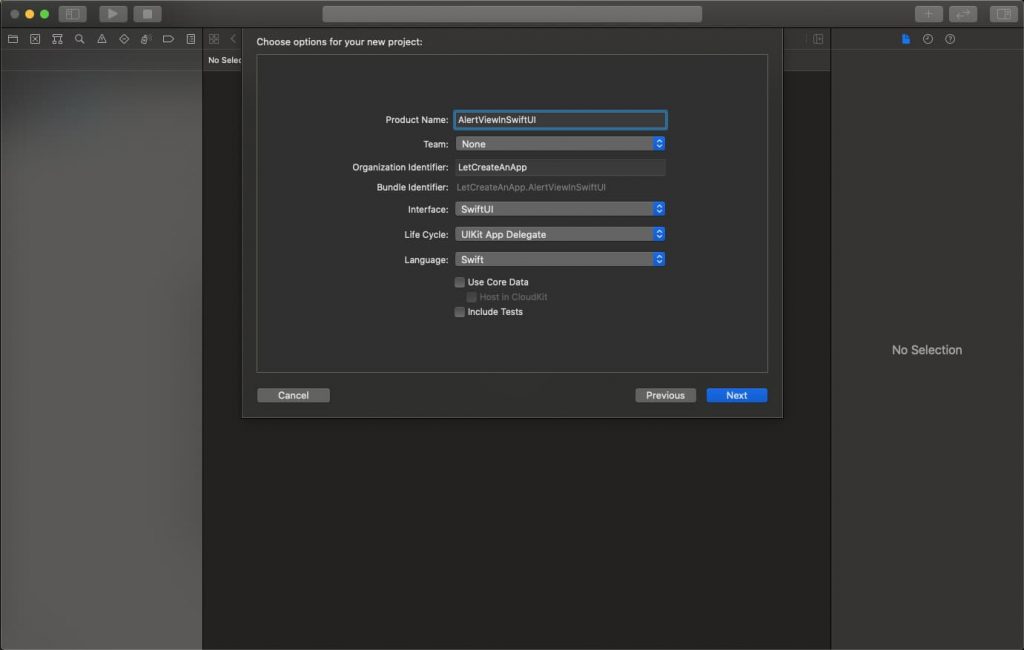
Open Xcode, Select Single View Application and click on next and give a proper name to the project and make sure to select the user interface should be SwiftUI, and create the project.
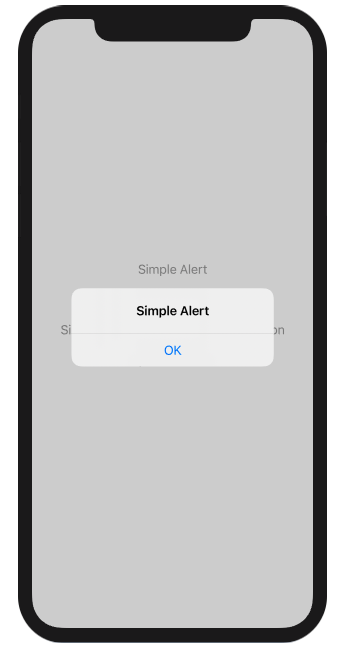
2. Simple Alert
Alert without message & action-handler.
@State var simpleAlert = false Button("Simple Alert") {
simpleAlert.toggle()
}.alert(isPresented: $simpleAlert, content: {
Alert(title: Text("Simple Alert"))
}) 
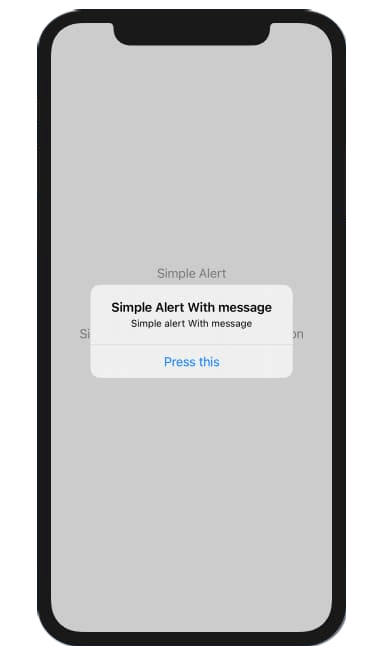
3. Alert with Message & Action Handler
Alert with message & action-handler.
@State var simpleAlertMessage = false Button("Simple Alert With message") {
simpleAlertMessage.toggle()
}.alert(isPresented: $simpleAlertMessage, content: {
Alert(title: Text("Simple Alert With message"), message: Text("Simple alert With message"), dismissButton: Alert.Button.default(Text("Press this"), action: {
message = "Button clicked"
}))
}) 
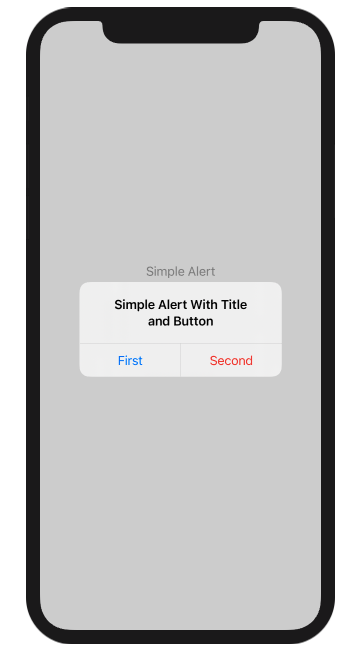
4. Alert with Multiple Buttons
Alert with Multiple Buttons and their handlers.
@State var simpleAlertMessageWithButtons = false Button("Simple Alert With Title and Button") {
simpleAlertMessageWithButtons.toggle()
}.alert(isPresented: $simpleAlertMessageWithButtons, content: {
let firstButton = Alert.Button.default(Text("First"))
let secondButton = Alert.Button.destructive(Text("Second")) {
message = "Second Button Clicked"
}
return Alert(title: Text("Simple Alert With Title and Button"), primaryButton: firstButton, secondaryButton: secondButton)
}) 
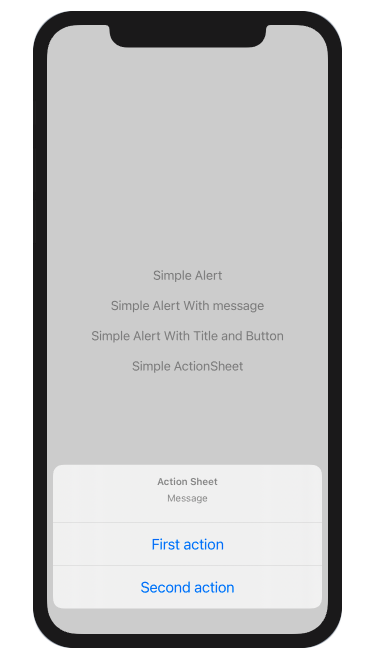
5. ActionSheet in SwiftUI
@State var simpleActionSheet = false
@State var message = ""
Button("Simple ActionSheet") {
simpleActionSheet.toggle()
}.actionSheet(isPresented: $simpleActionSheet, content: {
let action1 = ActionSheet.Button.default(Text("First action")) {
message = "Action Sheet first action clicked"
}
let action2 = ActionSheet.Button.default(Text("Second action")) {
message = "Action Sheet second clicked"
}
return ActionSheet(title: Text("Action Sheet"), message: Text("Message"), buttons: [action1, action2])
}) 
I hope you like this tutorial and if you want any help let me know in the comment section.— there is way more to come! You can follow me on Youtube, Instagram, and Twitter to not miss out on all future Articles and Video tutorials.
. . .
I am really happy you read my article! If you have any suggestions or improvements of any kind let me know! I’d love to hear from you! ????


Pingback: Custom Alert view in SwiftUI - (Xcode 12.1) - Let Create An App
It抯 actually a cool and helpful piece of info. I am glad that you shared this helpful information with us. Please keep us up to date like this. Thanks for sharing.
Everything is very open with a very clear description of the issues. It was truly informative. Your website is very helpful. Thanks for sharing!
You really make it seem so easy with your presentation but
I find this matter to be actually something which I think I would never understand.
It seems too complicated and extremely broad for me. I’m looking forward for your next post,
I will try to get the hang of it!
Fastidious response in return of this issue with genuine arguments
and explaining all on the topic of that.
What’s Going down i aam new to this, I stumbled upon this I
have discovered It absolutely hellful and it hhas aided me out loads.
I’m hoping to give a contribution & aidd different users like its helped me.Good
job.
Wow that was strange. I just wrote an incredibly log comment but after I clicked submit my comment didn’t appear.
Grrrr… well I’m not writing all that over again. Anyway, just wanted to
say excellent blog!
I like what you guys tendd to be up too. This kind of clever work and coverage!
Keep up the amazing works guys I’ve you guys to my personal blogroll.
I feel this is among the most important information for me.
And i’m satisfied studying your article. But wanna observation on some general issues, The
website taste is wonderful, the articles is in reality great :
D. Just right task, cheers
Superb, what a weblog it is! This weblog provides valuable data to us, keep it up.
Heya i’m for the first time here. I came across this board and I find
It really useful & it helped me out much. I hope to give something back and help others like you helped me.
I am really impressed along with your writing abilities and also
with the format on your blog. Is this a paid theme or did you modify
it your self? Anyway stay up the excellent quality
writing, it is rare to see a great blog like this one today..
Oh my goodness! Amazing article dude! Thank you, However I am experiencing difficulties with your RSS.
I don’t understand the reason why I cannot join it. Is there anybody else having
identical RSS issues? Anybody who knows the
answer can you kindly respond? Thanks!!
Thanks for finally writing about > SwiftUI: How to Show Alert & ActionSheet in SwiftUI – Let Create An App < Loved it!
Howdy fantastic blog! Does running a blog such as this require a large amount of work?
I’ve virtually no knowledge of coding but I was hoping to
start my own blog in the near future. Anyway, if you have any ideas or tips for new
blog owners please share. I know this is off subject but I just had to ask.
Appreciate it!
Howdy! This is my first comment here so I just wanted to give a quick
shout out and say I truly enjoy reading your articles.
Can you recommend any other blogs/websites/forums that go over the same subjects?
Thanks!