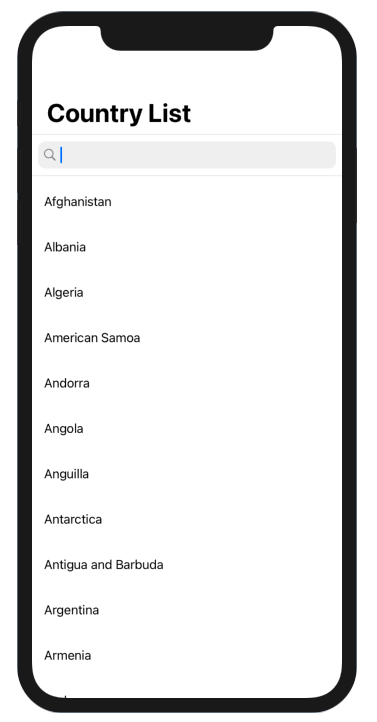
Searching list is always an important functionality in an application where we need to find something in the list. Searching list in SwiftUI is easy to create, In this article, I am showing how you can create a reusable Search Bar in SwiftUI.
If you want to watch the video tutorial of this article instead, here you go:

Requirements:
You need macOS Catalina and Xcode 11 or above in order to have SwiftUI work in the simulator.
1. Create a New SwiftUI Project
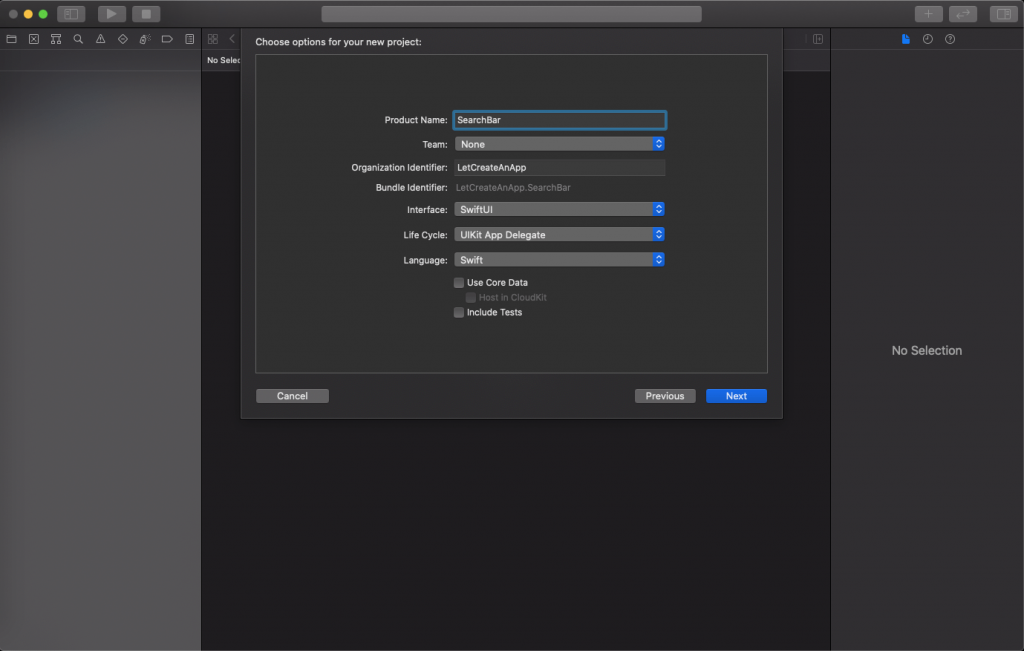
Open Xcode, Select Single View Application and click on next and give a proper name to the project and make sure to select the user interface should be SwiftUI, and create the project.

2. Add Navigation and ScrollView on the Content View.
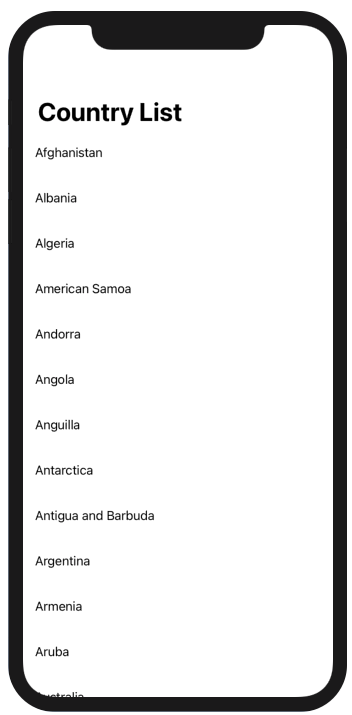
First, we need to go to the ContentView.swift file and add the navigation view and ScrollView on the view and load the list of all the countries from the country name array.
Note: Download the project and get the list of countries from there in AppDelegate file.
struct ContentView: View {
    var body: some View {
        NavigationView {
            ScrollView {
               ForEach(countryNameArr, id: \.self) { name in
                    HStack {
                        Text(name).padding()
                        Spacer()
                    }
                }
            }.navigationTitle("Country List")
        }
    }
}

struct ContentView_Previews: PreviewProvider {
    static var previews: some View {
        ContentView()
    }
}
3. Add Custom Search Bar.
Now create a new class CustomSearchBar.swift which is a simple swift file, this file is responsible for handling all the events related to UISearchBar.
import Foundation
import SwiftUI

struct CustomSearchBar: UIViewRepresentable {

    @Binding var text: String

    func makeUIView(context: Context) -> some UIView {
        let searchBar = UISearchBar(frame: .zero)
        searchBar.delegate = context.coordinator
        return searchBar
    }

    func updateUIView(_ uiView: UIViewType, context: Context) {
        if let view = uiView as? UISearchBar {
            view.text = text
        }
    }

    func makeCoordinator() -> Coordinator {
        return Coordinator(text: $text)
    }

    class Coordinator: NSObject, UISearchBarDelegate {

        @Binding var text: String

        init(text: Binding<String>) {
            _text = text
        }

        func searchBar(_ searchBar: UISearchBar, textDidChange searchText: String) {
            text = searchText
        }
    }
}
This class is responsible to handle the delegate event trigger by UISearchBar and transfer the text to the respected controller.
4. Add Search Bar on Country List
Now we need to add the search bar on ContentView.swift file to show the Search Bar. We also need to filter the CountryNameArray according to the text enter by the user in the search field.
import SwiftUI

struct ContentView: View {

    @State var text: String = ""

    var body: some View {
        NavigationView {
            ScrollView {
                CustomSearchBar(text: $text)
                ForEach(countryNameArr.filter{
                    self.text.isEmpty ? true : $0.lowercased().prefix(text.count).contains(text.lowercased())
                }, id: \.self) { name in

                    HStack {
                        Text(name).padding()
                        Spacer()
                    }
                }
            }.navigationTitle("Country List")
        }
    }
}

struct ContentView_Previews: PreviewProvider {
    static var previews: some View {
        ContentView()
    }
}
The source code of this article can be downloaded at LetCreateAnApp repository Github.
I hope you like this tutorial and if you want any help let me know in the comment section.— there is way more to come! You can follow me on Youtube, Instagram, and Twitter to not miss out on all future Articles and Video tutorials.
. . .
I am really happy you read my article! If you have any suggestions or improvements of any kind let me know! I’d love to hear from you! ????


