Corner radius and shadow is the needed design in the all the application. Defining corner radius or shadow separately is very easy in iOS, but adding shadow with rounding corner on same view is bit challenging. If we define both on the same view with common approach, only corner radius will show up.
In this article, we will see how we can add shadow with rounded corner to view and buttons and we also refine the code and create a separate class to implement this functionality. So whenever we need to add shadow with rounded corner on view, we only need to give this class to that view.
If you want to watch the video tutorial of this article, here you go:
1. Create a New Swift Project
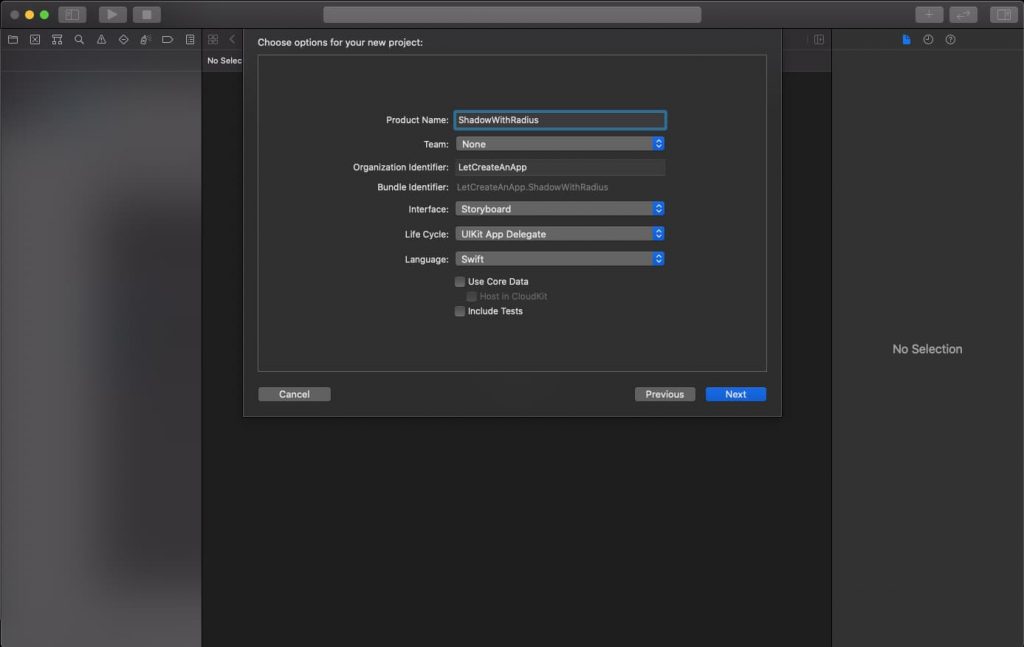
Open Xcode, Select App and click on next and give a proper name to the project and make sure to select the user interface should be Swift, and create the new project. Give the name according to your need.
2. Design the Basic Layout
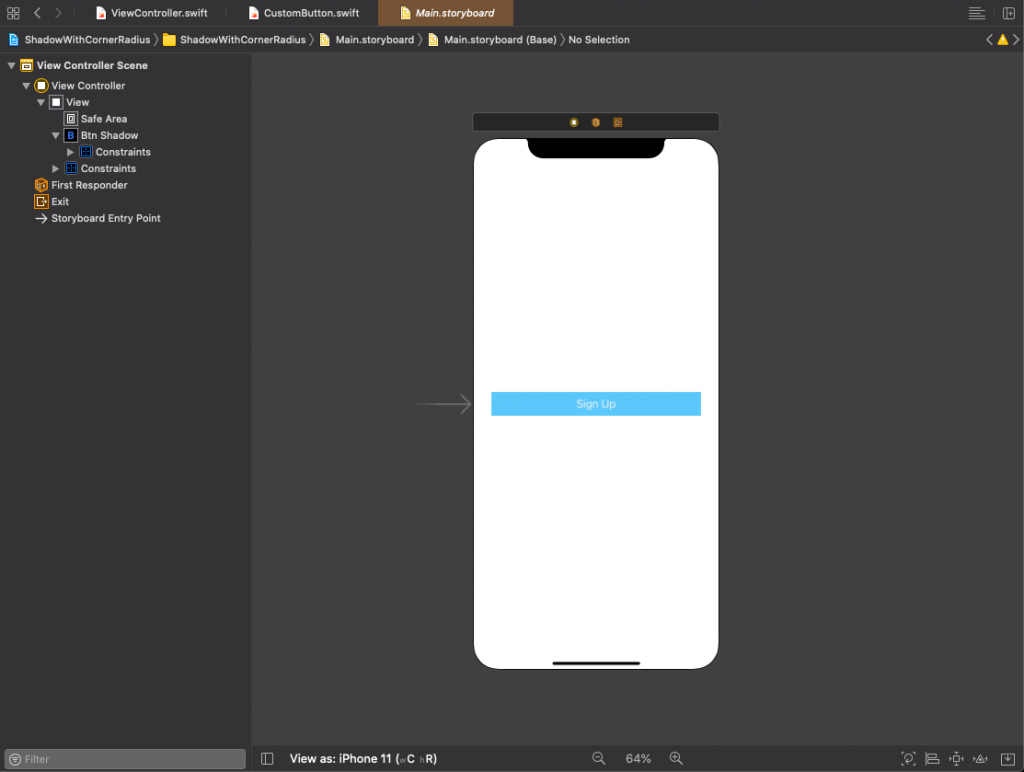
First we need to design the button or view on the screen, so we can add shadow and rounded corner on that button. You can change the design as per your need, this is just for demo purpose.
Lets drag and drop UIButton on the main.storyboard and give some basic constraints. Leading = 30, trailing = 30, vertically & horizontally center. After giving these constraint your main.storyboard look like this.
3. Provide Shadow and Rounding Corners
Before moving on the coding part, we need to take the outlet of this button so we can assign properties to this button. Let’s take outlet first.
@IBOutlet weak var btnSignup: UIButton! Now, we need to give shadow and rounding corner to this button, as we are giving them separately in our daily development process.
override func viewDidLoad() {
      super.viewDidLoad()

      // To round the corners
      btnSignup.layer.cornerRadius = 20
      btnSignup.clipsToBounds = true

      // To provide the shadow
      btnSignup.layer.shadowRadius = 10
      btnSignup.layer.shadowOpacity = 1.0
      btnSignup.layer.shadowOffset = CGSize(width: 3, height: 3)
      btnSignup.layer.shadowColor = UIColor.green.cgColor
}
Try to run the code and you will see the output something like the below image.
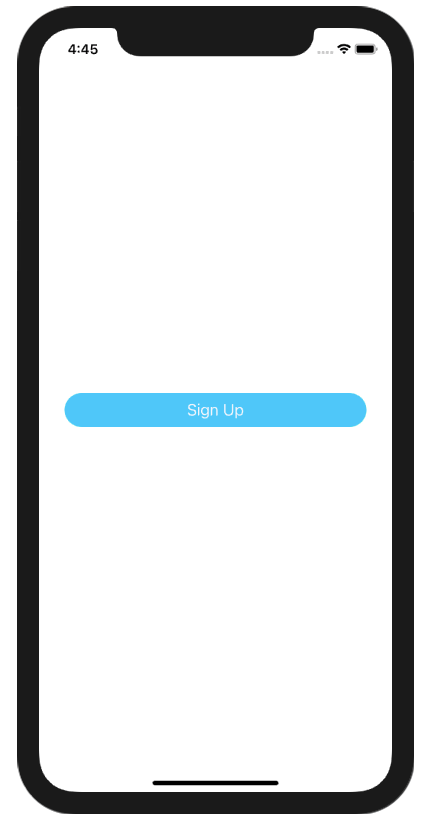
We can clearly see that there is no shadow on the button, the reason behind this issue is ‘clipsToBounds’ property of the button. This property clips all the things which is moving out from its bounds. So it is cliping all the shadow part.
So for resolving this issue, we need to add one more property to this button that is ‘masksToBounds’. This property works on layer and shadow is also working on layer’s. So we need to make ‘masksToBounds’ to false, by default this property is true.
Making ‘masksToBounds’ to false, layer will not clip the shadow and it will show on the button or any other view. Change the above code with below code.
// To round the corners
btnShadow.layer.cornerRadius = 20
btnShadow.clipsToBounds = true
// To provide the shadow
btnShadow.layer.shadowRadius = 10
btnShadow.layer.shadowOpacity = 1.0
btnShadow.layer.shadowOffset = CGSize(width: 3, height: 3)
btnShadow.layer.shadowColor = UIColor.green.cgColor
btnShadow.layer.masksToBounds = false
Let’s run the code and see the magic.
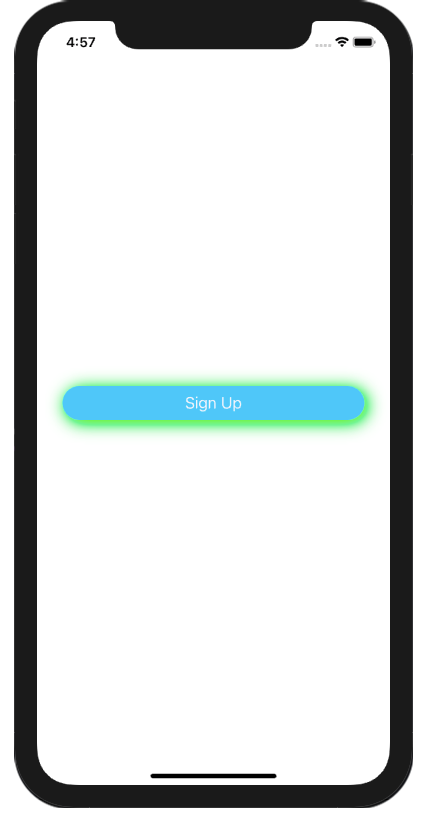
Now shadow is showing on the UIButton with clip to bound property. You can use the same approach to add shadow and rounding corner to any view.
4. Code Optimisation
Views are coming with shadow and rounding corners, but if this functionality is coming with almost all the views in the application then, the ViewController’s will become very messy. So separating the designing code from the business logic is good option.
We will create one class which inherit UIView or UIButton in that class. This class is core class to provide the shadow and rounding corner to the view, We only need to assign this class to view or button and it will automatically show the shadow and rounding corner on that view. You can also use IBInspectable’s to make the option available on the storyboard, so can directly configure the shadow from the storyboard.
Let’s create one class named it ‘CustomButton’ and past the below code in that class.
class CustomButton: UIButton {

   override init(frame: CGRect) {
       super.init(frame: frame)
       setRadiusAndShadow()
   }

   required init?(coder: NSCoder) {
       super.init(coder: coder)
       setRadiusAndShadow()
   }

   func setRadiusAndShadow() {
       layer.cornerRadius = 20
       clipsToBounds = true
       layer.shadowRadius = 10
       layer.shadowOpacity = 1.0
       layer.shadowOffset = CGSize(width: 3, height: 3)
       layer.shadowColor = UIColor.green.cgColor
       layer.masksToBounds = false
    }
}
Now assign this class to btnSignup button on the storyboard and remove all the code related to design from the ViewController.swift file. This make the class free from design coding and only business related logic will place in the class.
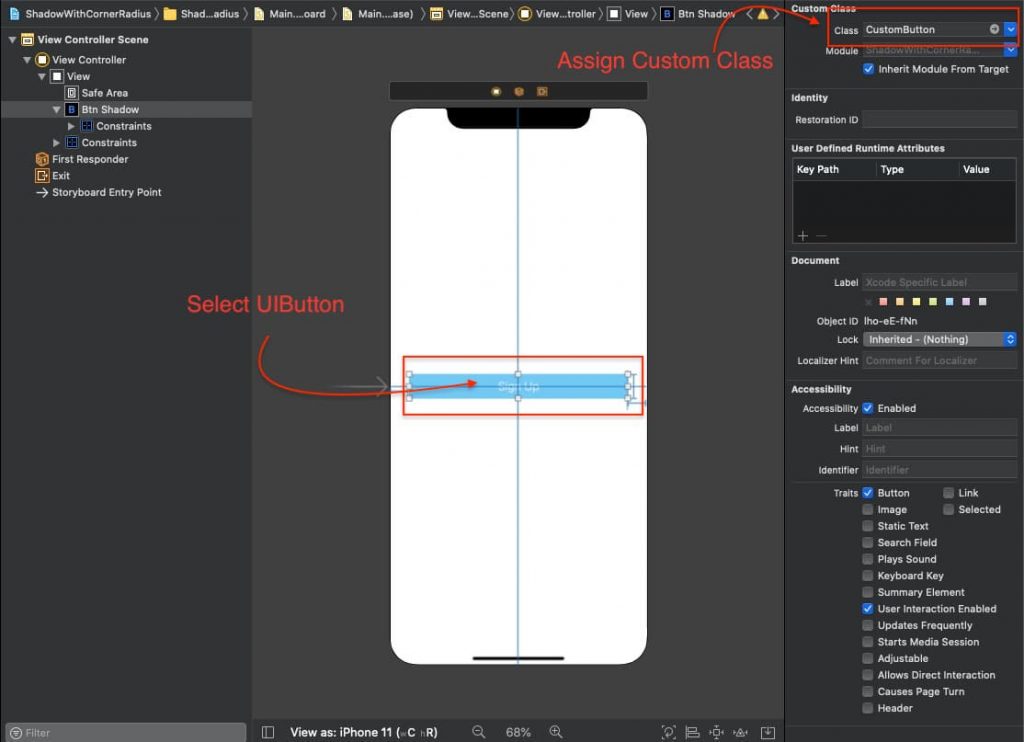
We are good to go, now try to run the application. You can able to see the shadow on button, without writing any code to give shadow or rounding corner to that button.
Download Resources for Adding Shadow with Rounding Corner to UIView in Swift 5
Download the source code of Adding Shadow with Rounding Corner to UIView in swift 5
I hope you like this tutorial and if you want any help let me know in the comment section.
Stay tuned, there is way more to come! follow me on Youtube, Instagram, Twitter. So you don’t miss out on all future Articles and Video tutorials.
. . .
I am delighted that you read my article! If you have any suggestions do let me know! I’d love to hear from you. ????

About the Author
Shubham Agarwal is a passionate and technical-driven professional with 5+ years of experience in multiple domains like Salesforce, and iOS Mobile Application Development. He also provides training in both domains, So if you looking for someone to provide you with a basic to advance understanding of any of the domains feel free to contact him

